
Oh My Goodness this card turned out to be amazing, however, it is definitely not a very quick make. I could have made it, or it could have been made with a full acetate background for the card front, but I wanted the card to have a feel of looking through the branches at the little friends busy in the meadow.
I have a YouTube video up that will be much more descriptive than this blog, just because there are so many steps, that going into detail would make it too long.
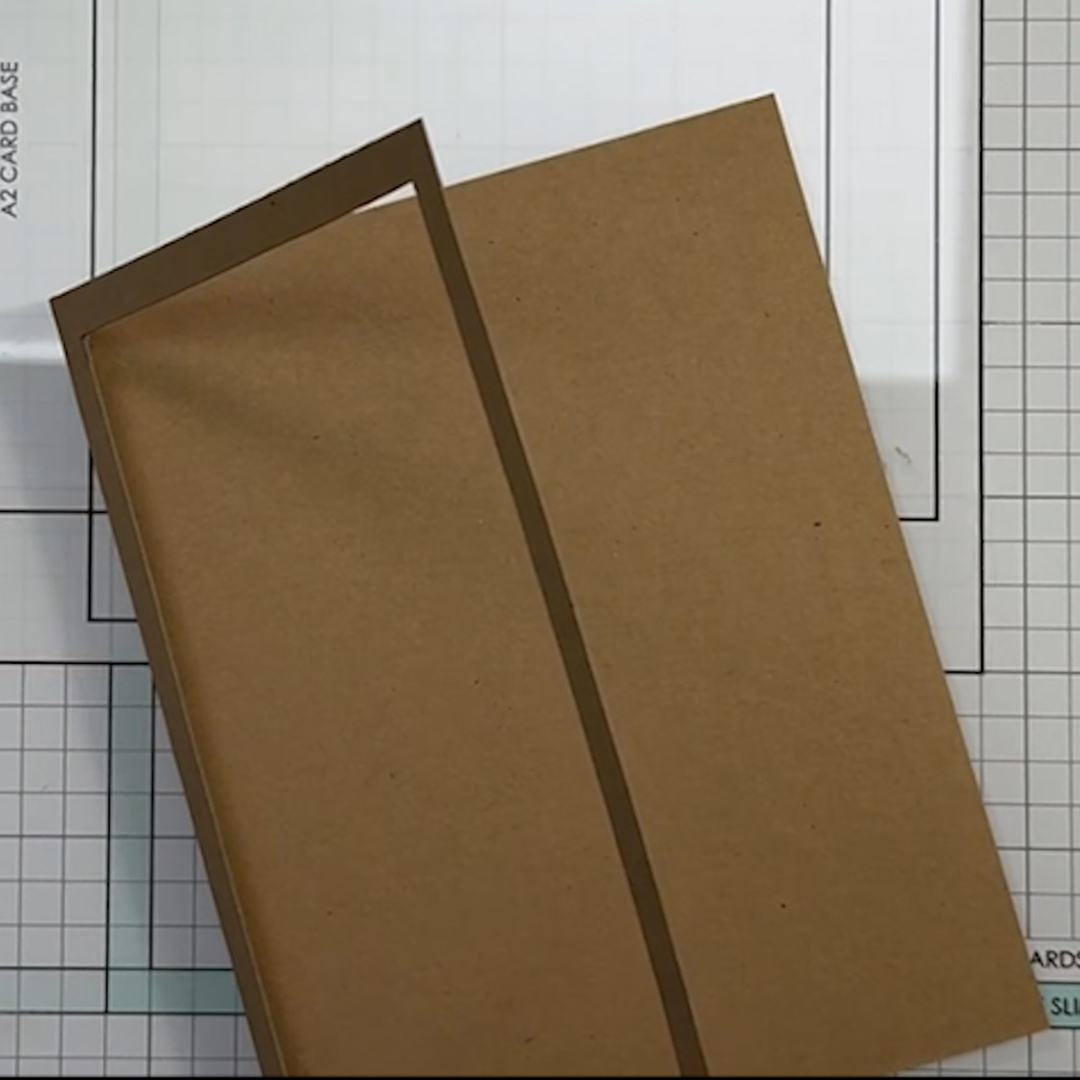
To start, I used a piece of cardstock cut 5.5" by 11". I scored the paper at 4.25" and then scored it again 1/8" over from the first score line. The card front is thick with the bird feeder and then with the additional layers on the inside, a simple score line will not give you enough room.
I used a craft knife to cut an opening in the front cover that I could adhere the Branch Backdrop pieces to.
I added a little Walnut Stain distress Oxide Ink to the branches on the backdrops.


For the bird feeders, I cut three fames, two pieces of acetate and two sets of the cap and tray. I used Carved Pumpkin Distress Oxide Ink to soften the edges and give it more depth. To assemble them, I glued tray and top on two of them along with a piece of acetate. I placed the birdseed at the bottom of one feeder, glued in the third frame. I cut a couple of acetate strips to apply to the top and bottom of the feeder keep the feeder centered in the backdrop. To finish the bird feeder, I glued the second decorated one on top of the other two.

As I was making the front of the card, I realized that I needed someplace to put the sentiment, so I cut a piece of green cardstock using the Simple Grassy Border Die to cut a piece of ground for the card front and then cut two more ground pieces for the inside of the card. I heat embossed the "Happy Birthday" sentiment from the Simply Sentiments Stamp Set.
For the inside background, I inked a piece of white cardstock with a light layer of Tumbled Glass Distress Oxide Ink and then used the Cloudy Stencil to lightly lay in some clouds. Once that was dry, I used the Stratus Cloud Stencil with white pigment ink to lay in some more clouds on top.
Once I glued my grassy pieces on the Branches Backdrops, I glued the backdrops to the card piece. I made sure to adhere the birdfeeder to the frame before I put glued the backdrops to the card frame piece.

Since I had several layers now on the front of the card, the branches had gaps because the backdrop pieces were separated by the card frame. To fill the gaps, I cut out another Branch Backdrop and then trimmed the branches off where I needed to fill the gaps. This probably doesn't make much sense, but if you watch the video, you will see what I do to fortify the branches.

I used the leaf dies that are included with the Branches Backdrop to cut out the leaves for my branches. For the green on my leaves, I inked white cardstock with Twisted Citron, Mowed Lawn and Rustic Wilderness Distress Oxide Ink.

To finish the inside of my card, I cut my inked background piece to 4" x 5.25", adhered my two grassy pieces to the bottom and then glued the whole piece to the right inside piece.

· Y02, Y38
· B00, B02, B04
· T0, T2, T5
· R24, R29, R39
· E30, E33, E37
· E70, E71, E74, E41
· RV10, RV23
· G21, G46, G28
I just placed my little friends and other elements where I felt they looked best always keeping in mind where they would show from the front of the card. Once I had everything in place, I felt like I had a lot of open space in the sky so I used the Simple Puffy Cloud Frames to cut out a few clouds to fill in the open area.

Phew! That just about completes this card. Like I said, it is pretty time intensive, but definitely impactful.
Thanks you so much for stopping by today.
Sandy
No comments:
Post a Comment